Home 908devices Teradiode Fortify Stryker Bose Projects Contact
Teradiode

Mechanical Engineer

After spending a couple months traveling and car camping across the U.S. post-graduation from Northeastern, I began my first job as a Mechanical Engineer at a high-tech laser manufacturing company in Willmington, Massachusetts. In this role I designed hardware components to GD&T standards, managed a 1k+ part assembly in SolidWorks, and often worked in a clean room environment to prototype designs and develop manufacturing processes.

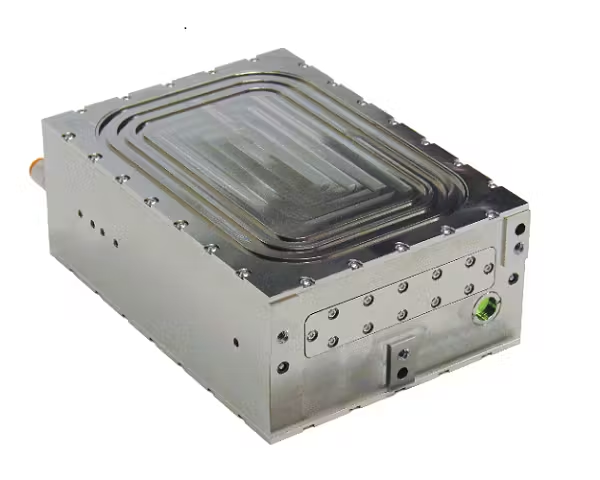
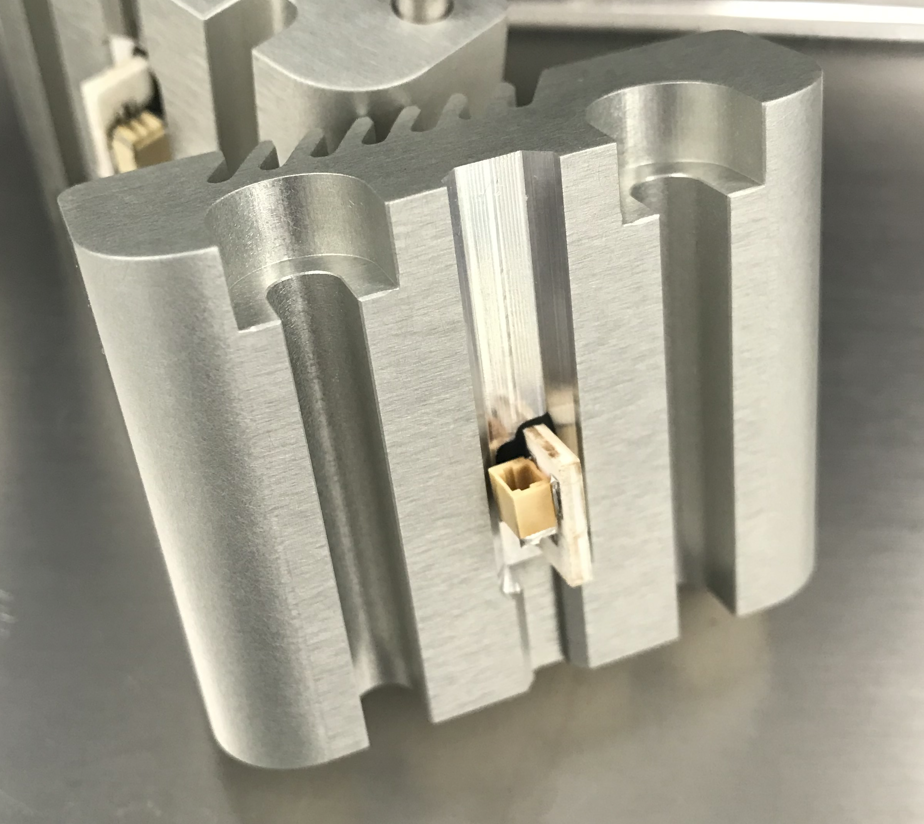
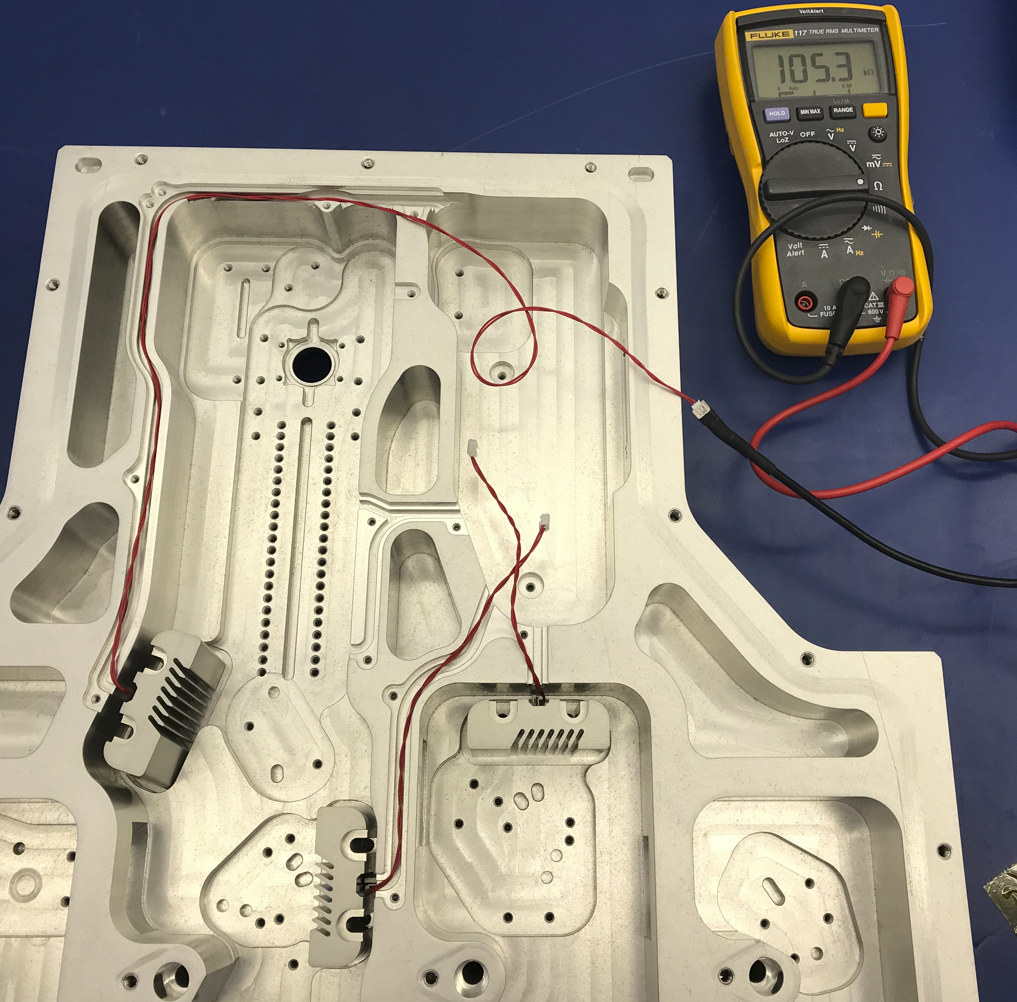
Part and Fixture Design - Laser Engine System

Laser blade
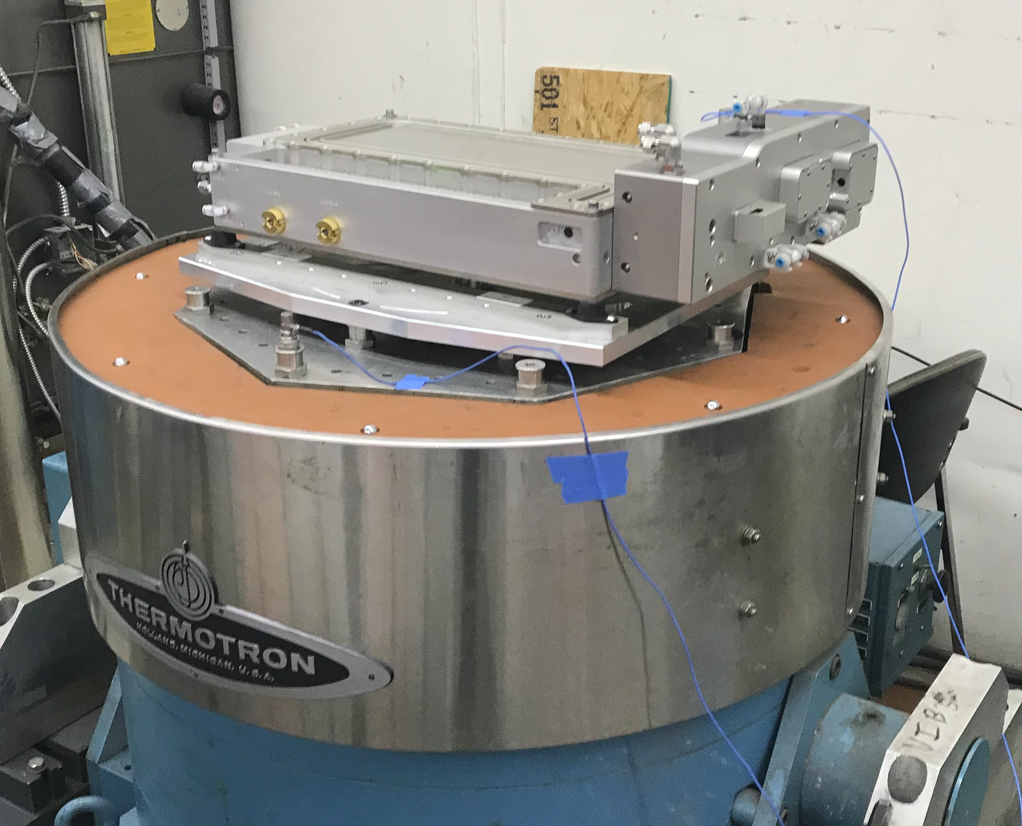
At Teradiode, I worked on the design, testing, and manufacturing of optoelectronic components packaged in the blue diode laser engine system, represented in the image to the left. 
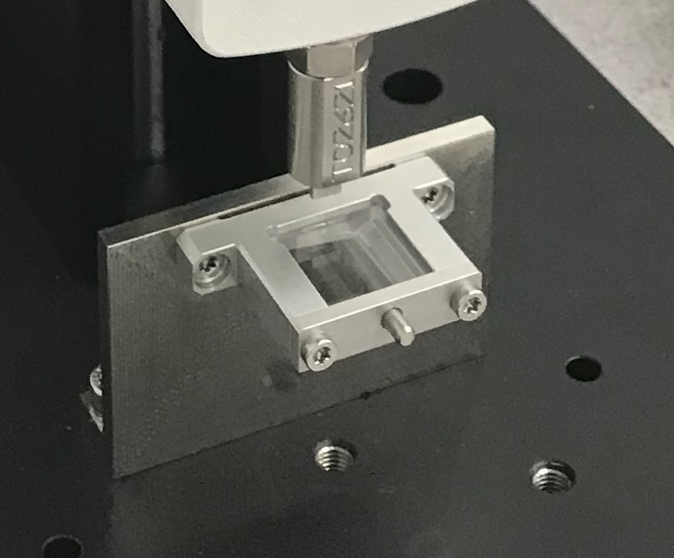
I designed adjustable optical mounts for laser alignment and many installation fixtures for assembling the optical mounts properly. I also managed part and assembly revision for the 1000+ part laser engine assembly in SolidWorks and Omnify (Arena). I did this effectively and efficiently, allowing for quick product releases with attention to the minute details in varied laser engines.

Optical Mounts & Fixtures

Optical Fixture
I helped with the design of optic mounts ensuring they met GD&T standards becasue of the tight tolerance required for a high powered laser system. In this picture, the optic is being stress tested with a manual force compression device. The mount is securely fastened to the test fixture I also designed.

Shock and Vibration Testing

Adapter plate table
I designed an adapter plate to complete shock and vibration testing for the laser blade in multiple orientations.
Vibration test

Custom PCB Thermistor Project

I worked closely with electrical engineers to design a custom PCB thermistor for monitoring system temperatures in the laser. Through careful design and consideration we were able to create a working prototype with the first batch of custom PCBs received.
Thermistor PCB

Installation

Thermistor Heat sink
I designed an installation fixture to aid in the heat sink assembly. The fixture held the PCB thermistor in position while a high temperature epoxy was applied. The fixture and the heat sink were baked in an oven to properly cure the epoxy.

Heat Sink Testing

Thermistor testing
I also had the opportunity to design the cable assemblies that enabled temperature readings in the system. The assemblies required specific routing paths as shown. In this image, the heat sinks have been installed in the laser and are being tested to ensure that they function properly before moving on.